
Understanding how to install a pool light with safety ground wire is essential for both safety and aesthetics. Pool lighting not only enhances the beauty of your outdoor space but also ensures safe swimming after dark. A crucial element of any pool light installation is the safety ground wire, which protects against electrical hazards in wet environments.
This guide will walk you through the installation process, emphasizing the importance of proper wiring and secure connections to maintain electrical safety. We’ll cover everything from removing the old light to connecting the new one, testing it, and performing final checks, ensuring your pool is safely illuminated for all to enjoy.
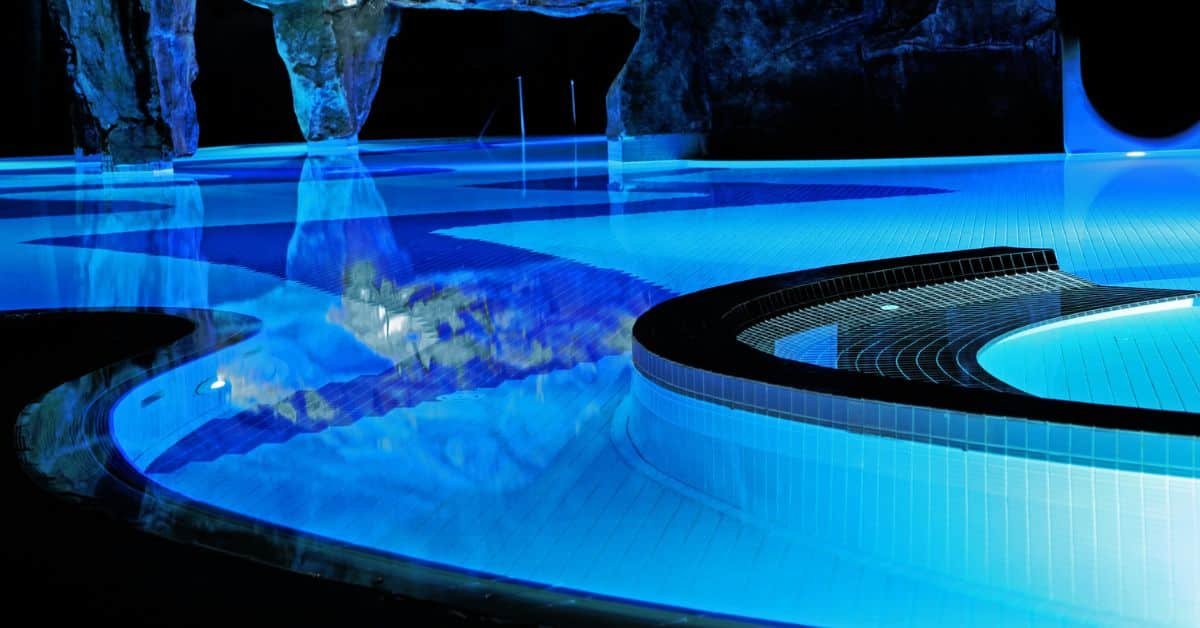
What is a Pool Light?
A pool light is more than just a functional feature; it adds both safety and beauty to your pool area, making evening swims enjoyable and your outdoor space inviting. LED lights are a top choice for their energy efficiency, long life, and vibrant color options, while halogen lights offer strong illumination but generate more heat. Fibre optic lights provide a unique, decorative glow. Safety is paramount when installing these lights, and a safety ground wire is essential. This wire prevents electrical shocks by directing stray currents away from the pool, ensuring your lighting system is safe and reliable.
Why Pool Lights are Crucial for Electrical Safety in Wet Environments?
When installing pool lighting, it’s vital to prioritize safety, especially in wet environments where the risk of electrical hazards is higher. Understanding why pool lights are crucial for electrical safety can help you ensure your pool area remains a secure space for everyone. In our comprehensive guide on how to install a pool light with safety ground wire, we delve into the essential steps and safety measures needed to protect both swimmers and your electrical system, ensuring your pool lights operate safely and effectively.
- Prevention of Electrical Shocks: Pool lights are designed with waterproof housings to prevent water from coming into contact with electrical components, reducing the risk of electrical shocks.
- Protection through Ground Fault Circuit Interrupters (GFCIs): GFCIs are used in pool light installations to automatically shut off the power if an electrical imbalance is detected, preventing potential shock hazards.
- Safe Electrical Current Path: The safety ground wire provides a secure path for any stray electrical current, ensuring it is directed safely into the ground instead of through the water or pool users.
- Mitigation of Electrocution Risks: Properly installed pool lights significantly reduce the risk of electrocution by ensuring that all electrical components are safely managed in a wet environment.
- System Reliability and Safety: Regular maintenance and correct installation of pool lights ensure the lighting system operates safely, providing consistent and secure illumination without posing a danger to swimmers.
- Compliance with Electrical Safety Standards: Pool lights adhere to specific safety standards designed to protect users from electrical hazards in environments where water is present.
Pre-Installation Preparation to Install a Pool Light with Safety Ground Wire
Before you dive into the installation process, proper preparation is key to ensuring a safe and successful outcome. Our detailed guide on how to install a pool light with safety ground wire covers all the critical pre-installation steps, including turning off the power supply, checking local codes, inspecting the light housing, and measuring the ground wire. These essential preparations will help you avoid common pitfalls and ensure that your pool light installation is both safe and compliant with electrical standards.
- Turn Off Power Supply: Turn off the power supply at the circuit breaker before installation to prevent electrical shock. Double-check that the power is off to ensure a safe working environment.
- Check Local Codes and Regulations: Ensure compliance by checking local electrical codes and regulations before installing your pool light. This helps avoid legal issues and ensures your installation meets safety standards.
- Inspect the Pool Light Housing: Inspect the pool light housing to ensure it’s in good condition and free from water leaks. A secure, leak-free housing is crucial for safe and effective pool light installation.
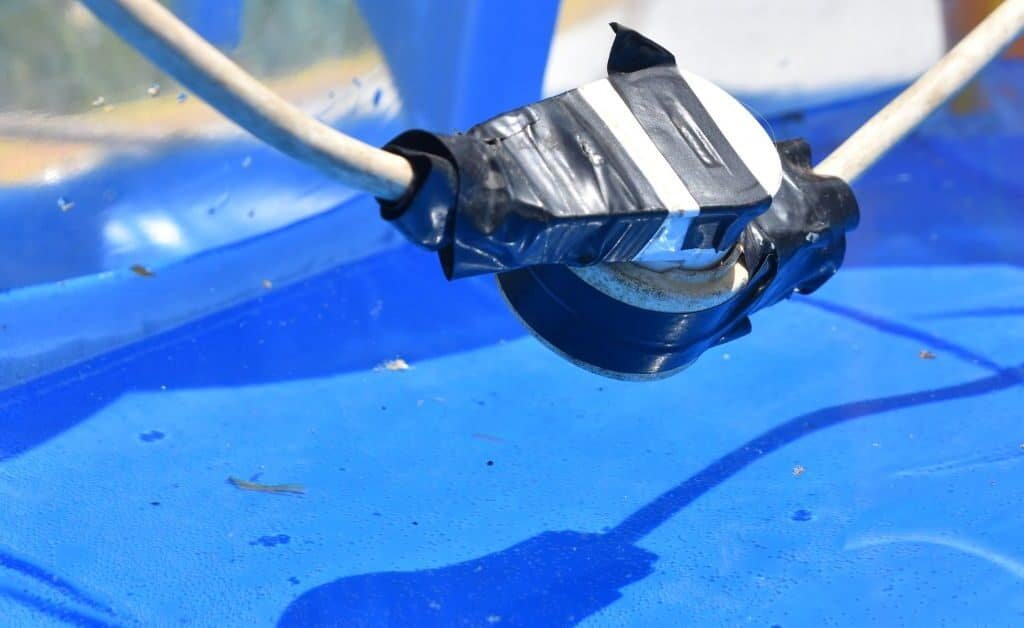
- Measure and Cut the Ground Wire: Measure and cut the ground wire to the correct length, ensuring it fits securely within the light housing. Proper sizing is essential for a safe and effective pool light installation.
Step-by-Step on How to Install a Pool Light with Safety Ground Wire
If you’re ready to enhance your pool with safe, effective lighting, our step-by-step guide is here to help. Learn how to install a pool light with safety ground wire by following detailed instructions that ensure your installation is done correctly and safely. This comprehensive guide walks you through each stage, from wiring to final checks, so you can enjoy a well-lit pool with peace of mind.
Step 1: Remove the Old Pool Light (if applicable)
The first step in installing a new pool light is to safely remove the old one, if necessary. Start by turning off the power at the circuit breaker to eliminate any risk of electrical shock. If the water level needs to be lowered for better access, drain the pool to just below the light fixture. Once you can easily reach the fixture, use a screwdriver to carefully unscrew it from the housing. After removing the screws, gently disconnect the wires, noting their positions for later. Finally, carefully pull out the old light housing, taking care not to damage the surrounding area. This careful process ensures a smooth transition to installing your new pool light.
Step 2: Install the New Pool Light Housing
The second step in the installation process is to securely install the new pool light housing. Begin by positioning the new housing in the niche where the old one was removed. Make sure it fits snugly and aligns properly with the existing opening in the pool wall. Once the housing is correctly positioned, use screws to secure it firmly in place. It’s essential to ensure that the housing is tightly secured to prevent any movement or water intrusion. If necessary, apply a waterproof sealant around the edges of the housing to create a watertight seal, further protecting against leaks. This careful installation of the light housing is crucial for maintaining the integrity and safety of the entire lighting system.
Step 3: Connect the Wires
In this step, you’ll connect the wires to power your new pool light. Start by stripping about 1/2 inch of insulation from the ends of the wires, including the ground wire. Attach the ground wire to its designated terminal, then connect the hot (usually black) and neutral (usually white) wires using wire nuts. Ensure all connections are secure, and wrap them with electrical tape for added protection against moisture.
Step 4: Test the Connections
After connecting the wires, it’s time to test the connections to ensure everything is functioning correctly. First, turn the power back on at the circuit breaker. Then, switch on the pool light to confirm it lights up properly. If the light doesn’t turn on, immediately turn off the power and double-check all connections for any issues. Additionally, inspect the light housing for any water leaks, as a watertight seal is crucial for safety and longevity.
Step 5: Secure the Pool Light
Once the connections are tested, secure the pool light fixture into the housing. Carefully position the light and use screws to firmly mount it, ensuring a tight fit to prevent water from entering the housing. Double-check that the fixture is seated properly and doesn’t move. If needed, apply a waterproof sealant around the edges for added protection. This step ensures the light remains securely in place and functions safely underwater.
Step 6: Refill the Pool (if drained)
With the pool light securely installed, it’s time to refill the pool if it was drained. Slowly refill the pool to its normal water level, ensuring that the light fixture remains in place and watertight as the water rises. Once the pool is filled, turn on the light again to verify it functions properly in the water. Conduct a final inspection to ensure everything is secure and working as intended.
Testing and Final Checks on Installing a Pool Light with Safety Ground Wire
After completing the installation, it’s crucial to perform thorough testing and final checks to ensure everything is working correctly. Our guide on how to install a pool light with safety ground wire walks you through these essential steps, including verifying electrical connections, checking for leaks, and ensuring the light functions properly. These final checks are key to confirming the safety and reliability of your pool light installation, giving you peace of mind as you enjoy your illuminated pool.
- Restore Power: Turn the power back on at the circuit breaker to restore electricity to the pool light. Ensure that all connections are secure before proceeding.
- Test the Pool Light: Switch on the pool light to confirm it’s functioning properly. If the light doesn’t turn on, double-check the wiring and connections.
- Check for Leaks: Inspect the light housing for any signs of water leaks, which could indicate a problem with the seal or installation.
- Verify Ground Wire Connection: Ensure the ground wire is properly connected and functioning as intended, as it’s crucial for electrical safety in the wet environment.
Conclusion
In this guide on how to install a pool light with safety ground wire, we covered the essential steps to ensure a safe and successful installation. From turning off the power and removing the old light to installing the new housing, connecting the wires, and performing final checks, each step is crucial for both functionality and safety. Remember, following safety guidelines like proper wiring and verifying connections is key to preventing electrical hazards.
If you have any questions or want to share your experience, feel free to leave a comment below. And if you’re uncertain about any part of the process, it’s always wise to contact a professional to ensure everything is done correctly and safely.